Roaming Zone
In Roaming Zone, you can manage all the roaming zones by country associated with Travel Packs. Setting up the Roaming Zone is the first step in adding a Travel Pack.
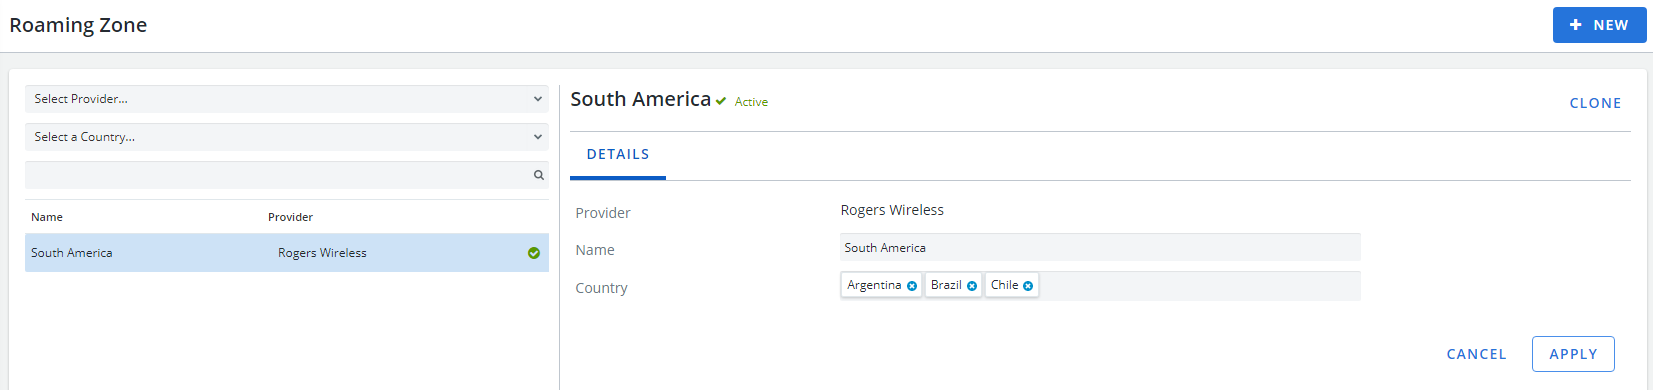
Example of the Roaming Zone page. Click to enlarge.
Create a roaming zone:
- Go to Configuration > Administration > Roaming Zone.
- Click + New. A black roaming zone form opens.
- Select a Provider.
- Enter a Name.
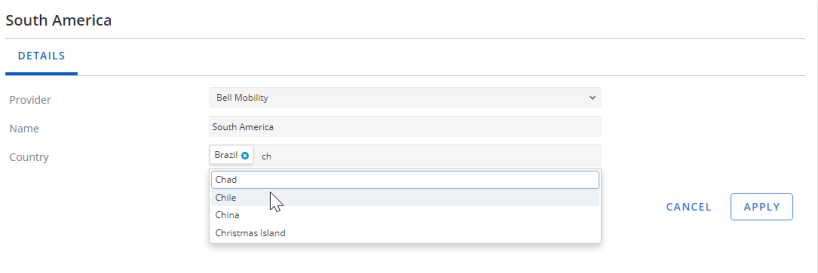
- Search and select countries.
-
Click Apply.
Clone a roaming zone:
- Go to Configuration > Administration > Roaming Zone.
- Select the Roaming Zone entry you want to clone. The entry opens.
- Click Clone. A clone pop-up opens.
- Select a Provider.
- Enter a Name.
-
Search and select countries.
Note: You cannot create duplicate zones. A country cannot belong to different zones for the same provider. The names of zones can be the same as long as they belong to different providers.
- Click Apply.
Deactivate a Roaming Zone:
- Go to Configuration > Administration > Roaming Zone.
- Click
 beside the zone you want to deactivate. A confirmation message appears.
 - Click OK. The roaming zone is deactivate.
- Click
 to activate the roaming zone. A confirmation message appears.
 - Click OK. The roaming zone is activated.